
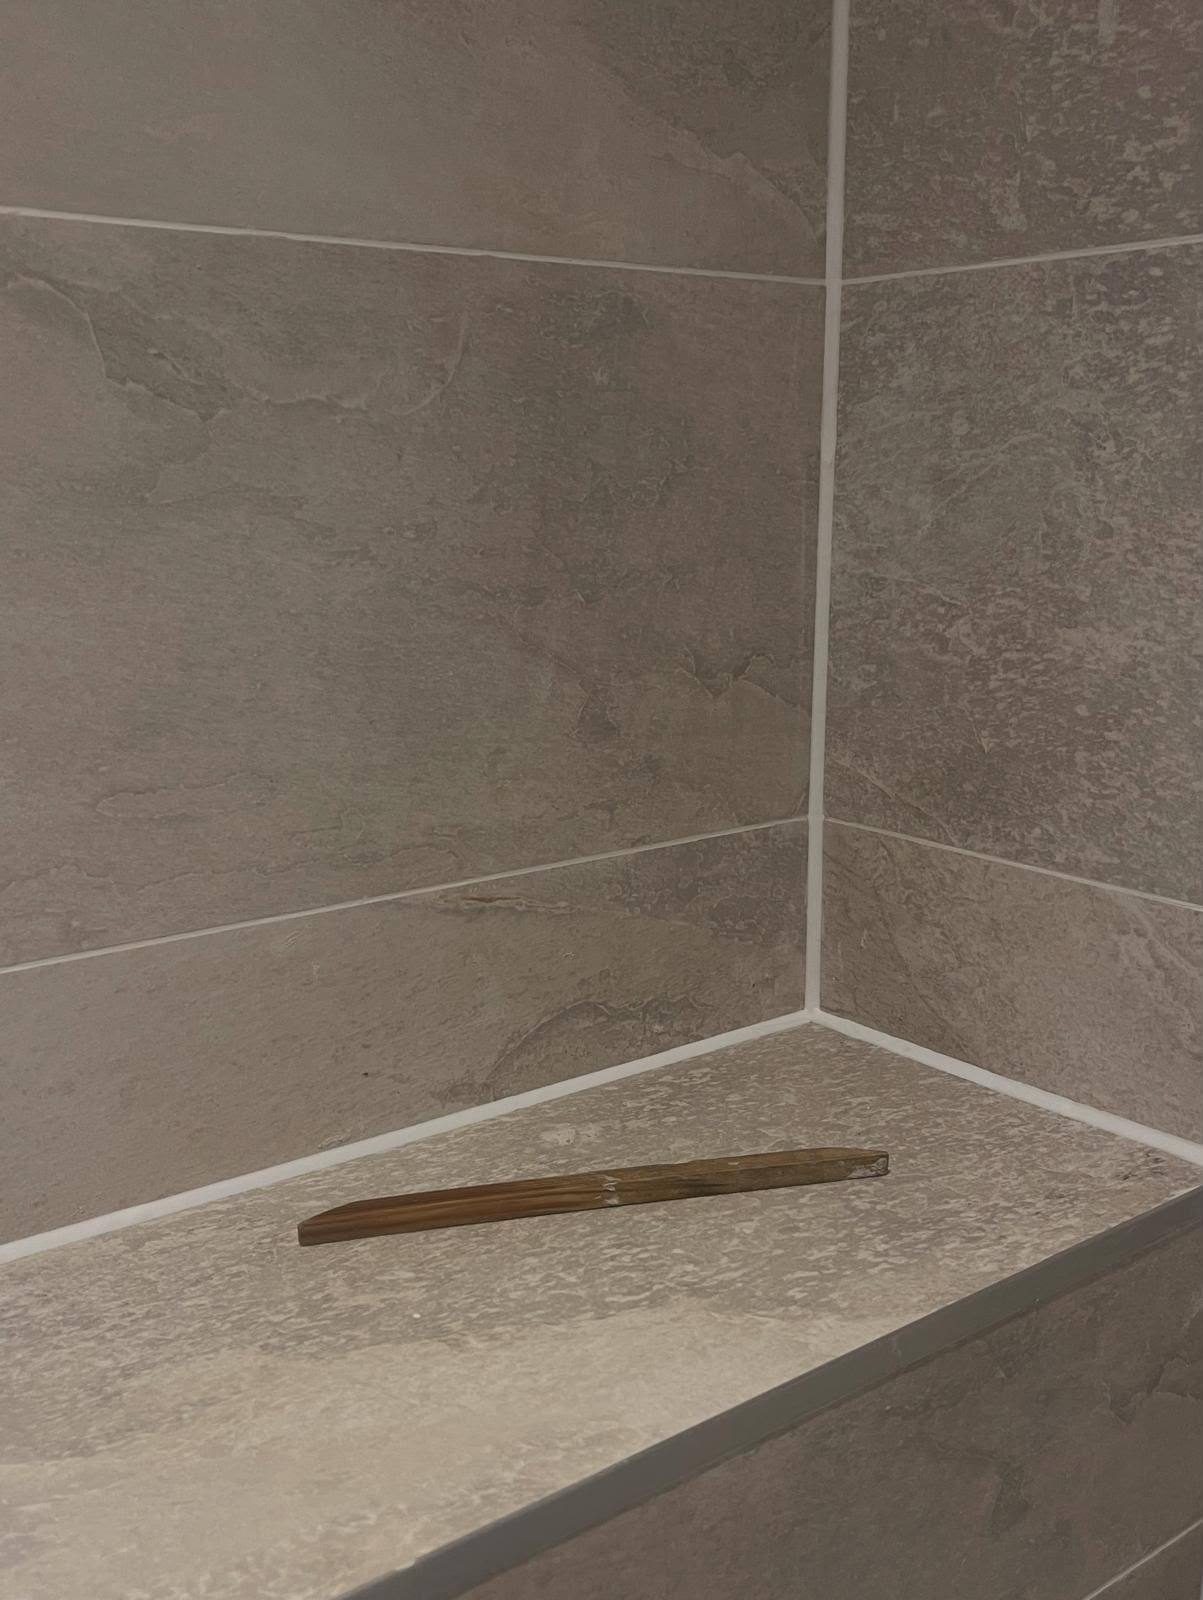
Removal & reseal — domestic & commercial
Sealant Replacement in Chathamold bead cut out in full,resealed to last
The reason most reseals fail is that nobody removed the old one properly. We cut the failed sealant out to the substrate, treat what is underneath and reseal in the right product — one visit, and the joint stops being a recurring problem.
Free quotes with photo pricing on small jobs, £2m public liability cover, and no sealing over old sealant — ever.
£2m cover
public liability insurance
CITB & CSCS
accredited on site
RAMS on request
for commercial jobs
Free quotes
photo quotes on small jobs
Chatham based
Kent, London & South East
The service
What this work involves
— and who it is for
What removal and resealing involves
A reseal is three jobs in one: taking the old sealant out, dealing with whatever the old sealant was hiding, and applying a new bead that is correctly sized and bonded. Skipping any of the three is why joints get resealed twice in two years.
We cut the failed bead away from both joint faces with blades rather than pulling at it, scrape and solvent-wipe the residue film that remains, treat mould where it has colonised the substrate, allow the joint to dry, and then apply the correct product for the location — mould-resistant in wet areas, weather-grade externally, low-modulus in movement joints — tooled to a clean concave profile.
Who it is for
Homeowners in Chatham and across Kent with black, split or lifting sealant in a bathroom, wet room or kitchen; landlords turning properties around between tenancies; and anyone who has already had a joint resealed by someone else and watched it fail again.
Commercially, we replace failed and rejected sealant for main contractors, developers and construction companies — including work installed by others that has been written up at inspection, and joints in washrooms, corridors, facades and floor plates that have reached the end of their life.
When it is needed
When the bead is black or grey-spotted, when it has split along its length, when it has come away from one face, when it feels hard and crazed rather than rubbery, or when it has shrunk enough to leave a visible gap. Any of those means the joint is no longer doing its job.
It is also the right call whenever a component is changed — a new bath, tray, worktop, window or door — because an existing bead will never sit correctly against a new unit, and any attempt to patch it shows immediately.
Why professional replacement matters
Silicone does not bond to silicone. A new bead applied over the remains of the old one is only attached to a failing layer, which is why supermarket-cartridge reseals lift within weeks. Complete removal, down to a clean, dry substrate, is the entire foundation of the job — and it is the part that takes the time.
The second reason is diagnosis. A failed joint is evidence. Black staining that returns immediately means a mould colony in the substrate or a ventilation problem. A bead that split down the middle means three-sided adhesion or an undersized movement joint. Sealant lifting cleanly off tile means it was applied damp or over dust. We read that before resealing, so the replacement addresses the cause rather than repeating it.
What it costs to leave it
A failed seal never
stays a small problem
Every month a failed joint stays in place, water is getting somewhere it should not. The sealant is the cheap part; what sits behind it — floor decks, plaster, joists, insulation, flooring adhesive — is what actually costs money to put right.
Hidden water damage
Water passing a failed bath, tray or perimeter joint soaks into board, timber and plaster for months before it shows. What starts as a resealing job becomes a lifted floor, a replaced tray or a repaired ceiling.
Mould that keeps coming back
Once mould is in the sealant and the substrate behind it, cleaning changes the colour for a fortnight. Without full removal and treatment, the new bead is blackening from the day it cures.
Paying for the same joint twice
A cheap reseal over old sealant fails within a season, so the work is bought again — and the second time there is more damage behind it to make good.
Mistakes we get called out to fix
- Applying new silicone over the old bead because full removal looks like too much work.
- Pulling sealant out by hand and leaving a thin skin of old product bonded to the tile or frame.
- Resealing while the joint is still damp, or the same evening someone has showered.
- Cleaning black mould off and resealing without treating the substrate, so the colony survives under the new bead.
- Replacing like for like with the wrong product — general-purpose silicone in an unventilated wet room, or internal-grade sealant on an exposed external joint.
How a job runs
The order of work,
start to finish
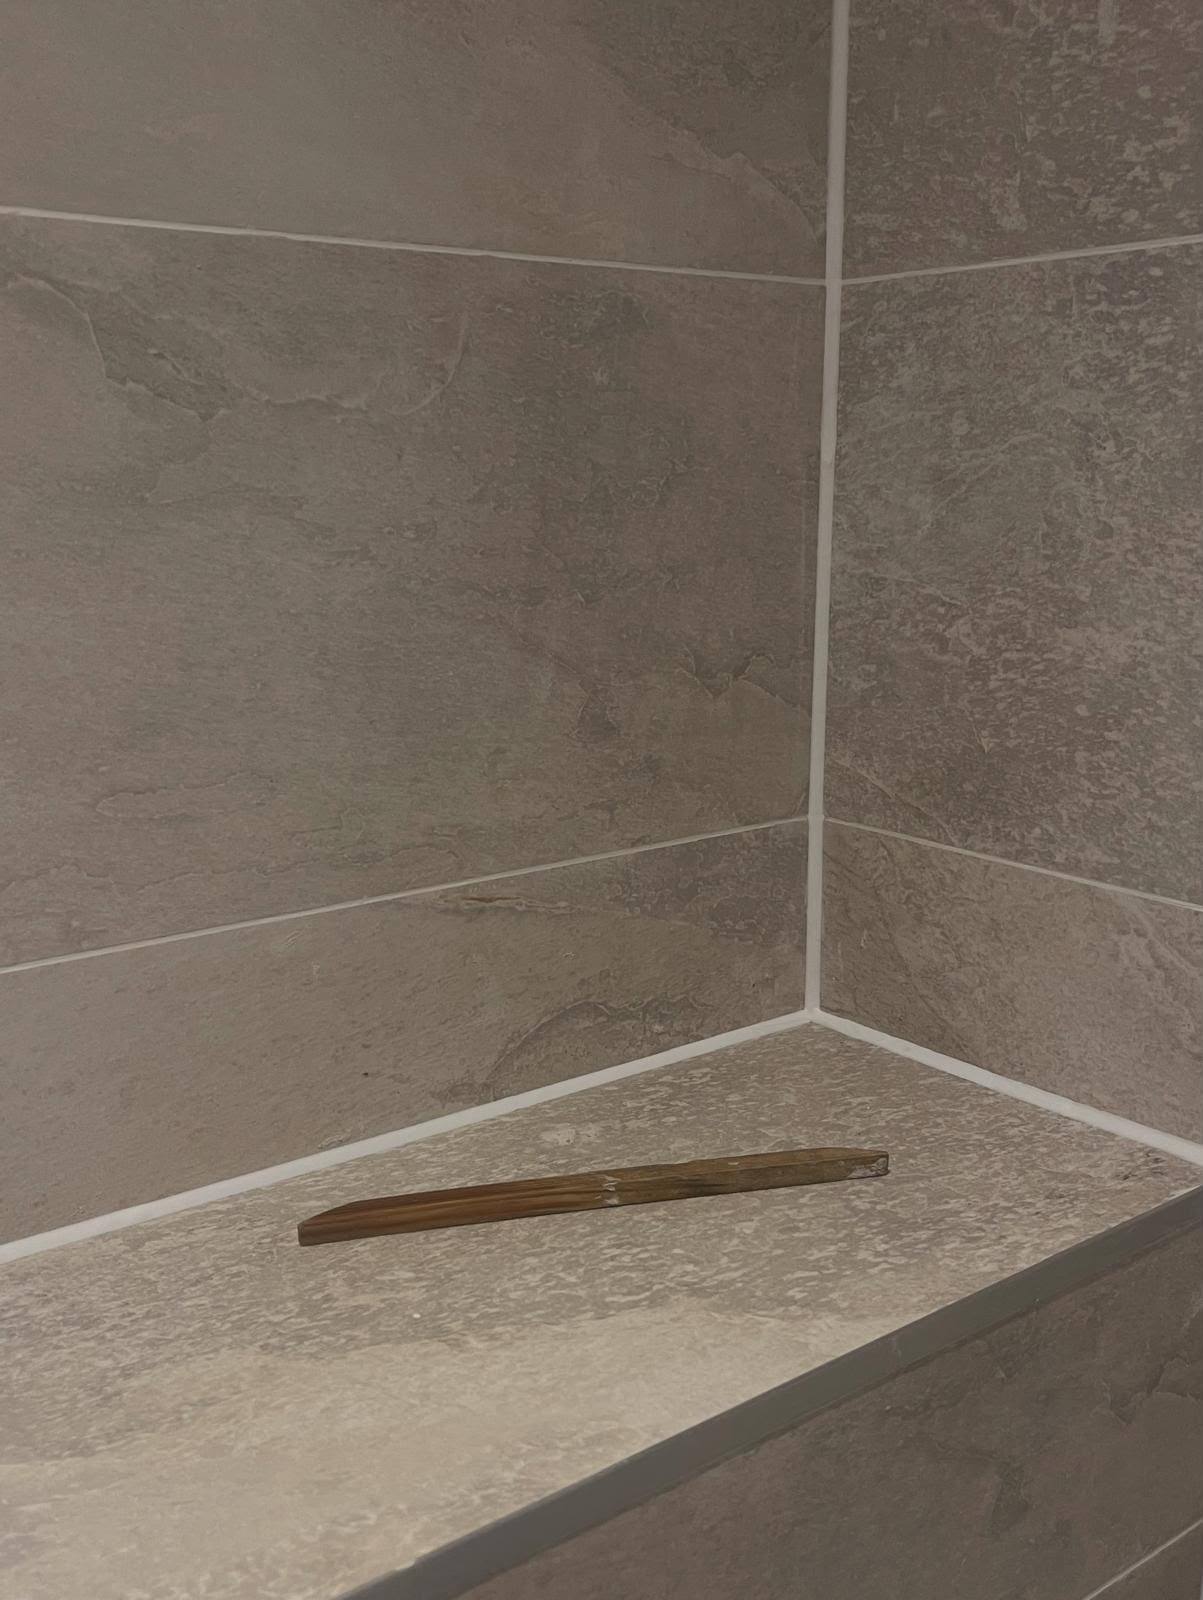
- 01
Photos or inspection
Send photos of the joint and the room, or we visit for larger and commercial work. We identify why the existing bead failed before quoting.
- 02
Free written quote
A fixed price for full removal and reseal, with the replacement product named and any preparation work — treatment, drying time, making good — set out.
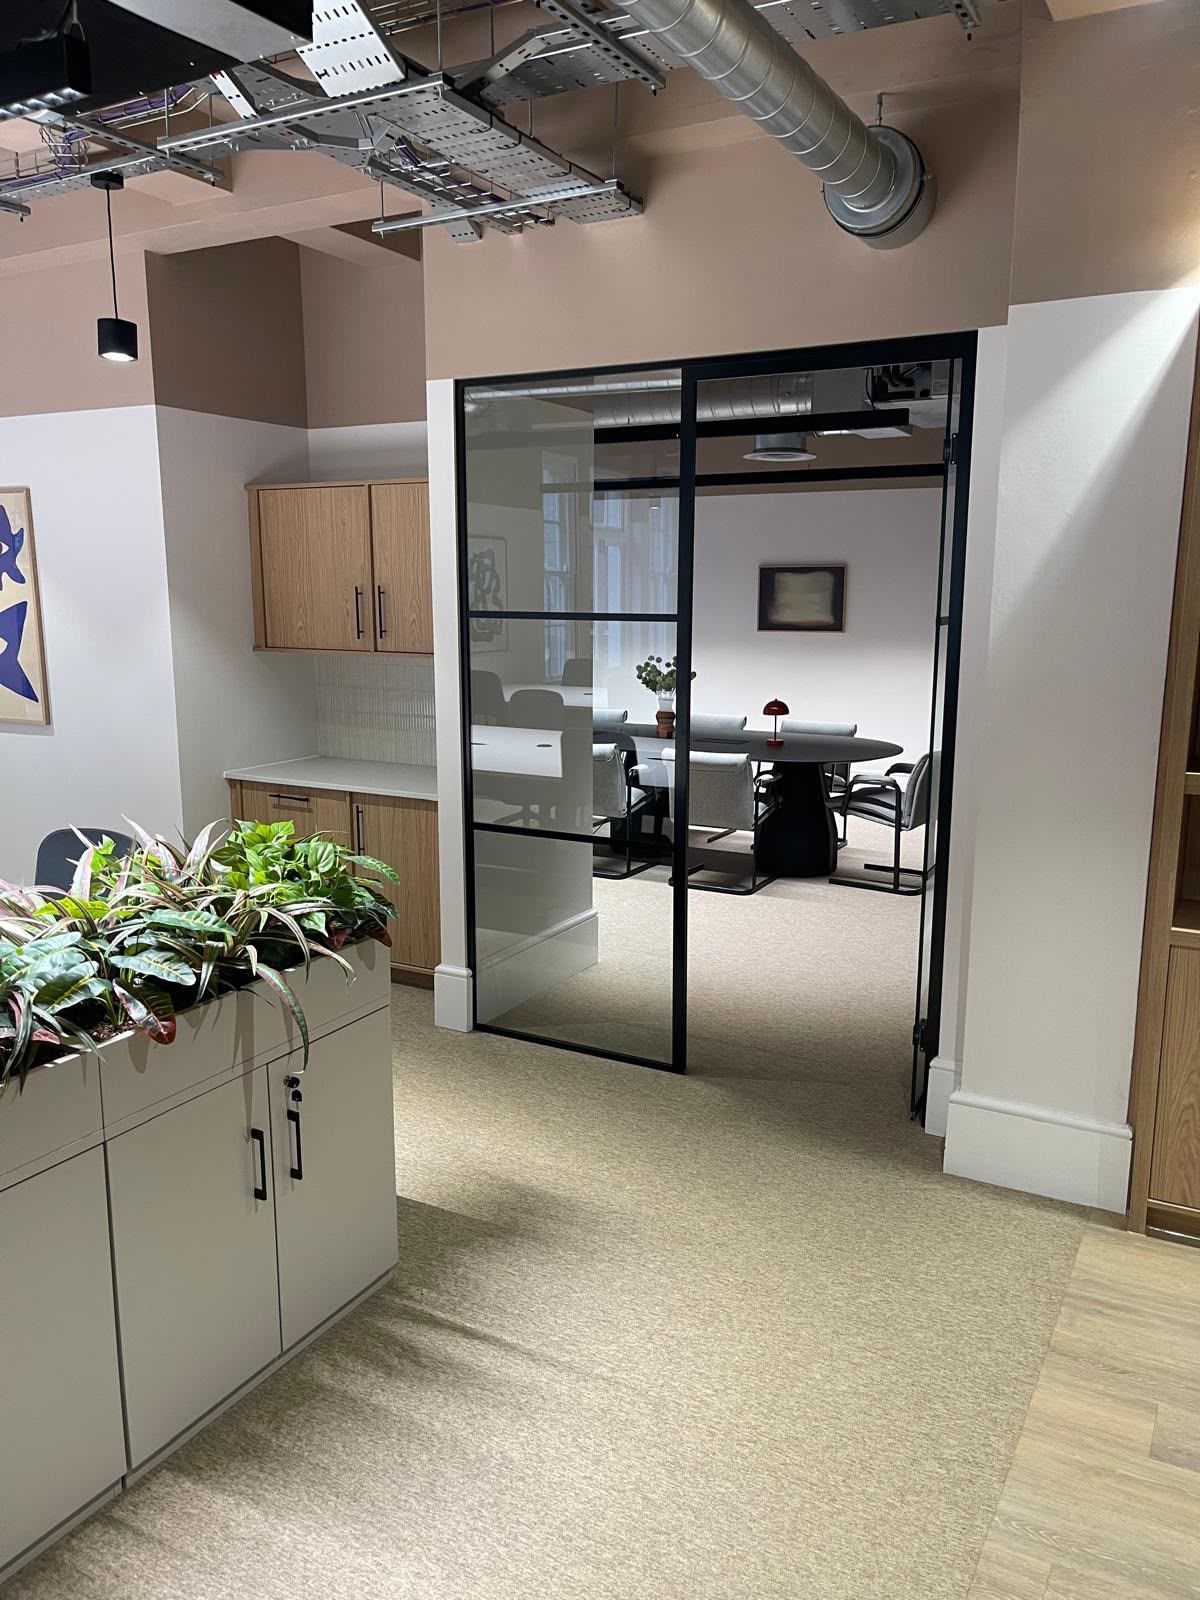
- 03
Complete cut-out
The old bead is cut from both faces with blades, residue scraped and solvent-wiped, and the joint taken back to clean, sound substrate.
- 04
Treatment & drying
Mould treated where present, gaps assessed, backing rod fitted where the joint is deep, and the joint allowed to dry before anything new is applied.
- 05
Reseal, tool & verify
New sealant applied in a continuous pass, tooled to a consistent concave line, curing times explained, and the area left clean.
What you get
The difference a properly
detailed finish makes
Fixed once, not annually
Full removal plus correct product selection breaks the cycle of resealing the same joint every year.
Cause addressed, not covered
We read the failure — mould colony, three-sided adhesion, damp application, wrong product — and correct it as part of the reseal.
Damage caught early
Cutting a joint out reveals what is behind it. Finding a damp floor deck now is far cheaper than finding it when the tray drops.
Rooms back in use the same day
Most domestic reseals are a few hours' work, with clear guidance on how long to keep the joint dry.
A line worth looking at
Consistent width, straight runs and clean corners, so the reseal improves how the room looks as well as how it performs.
Priced from photos
Small reseals can be quoted from photographs, so you get a fixed figure without waiting in for a site visit.
In detail
Materials, methods
and the variations we cover
Removal methods and why they matter
Silicone is removed mechanically. Blades are run down both joint faces to release the bead, the bulk is lifted out, and the residual film — always present, always invisible until you look closely — is scraped and then solvent-wiped so no cured silicone remains for the new bead to sit on. On delicate finishes such as acrylic baths, coated aluminium, polished stone and laminate worktops, that has to be done without scoring the surface, which is a matter of blade choice, angle and patience rather than force.
Where mould is present, removal is followed by treatment of the substrate so the colony is killed rather than sealed in. Where the substrate has been wetted, the joint is left to dry properly before resealing — sealing a damp joint gives you a bead that looks perfect for a month and then peels. Where the old joint was too wide or irregular, we pack it with closed-cell backing rod instead of building a thick bead that will sag and split.
Choosing the replacement product
Replacement is an opportunity to correct the original specification. Bathrooms, wet rooms, washrooms and changing facilities get sanitary-grade, mould-resistant silicone from Mapei, Illbruck, CT1 or Arbo. External joints get weather-grade, UV-stable, low-modulus products. Movement joints get low-modulus sealants correctly sized with backing rod. Pool and leisure surrounds get chlorine-resistant products. Partition junctions with an acoustic requirement get acoustic sealant.
Colour is part of the decision too. Colour-matched sealant lets the new bead disappear into grout, worktop, frame, cladding or floor finish rather than reading as a repair. We agree colour before ordering so nobody is surprised at the end of the job.
Variations of reseal work we cover
Bath, shower tray, wet-room former and enclosure reseals. Kitchen worktop, splashback, sink and hob reseals. Sanitaryware, IPS panel and washroom reseals. Window and door perimeter reseals, internal and external. Masonry and render movement joint replacement. Cladding, curtain walling and facade joint replacement. Floor-line and skirting mastic replacement across commercial floor plates. Pool surround and leisure wet-zone reseals. Removal and replacement of sealant rejected at inspection on commercial sites.
We also take on the awkward cases: joints that have been resealed three or four times, gaps that have grown too wide for a single bead, and joints where a previous contractor has smeared silicone across tile or frame faces and it needs cleaning off without damaging the finish.
Domestic and commercial differences
Domestically the work is fast, contained and finish-critical: usually a single visit, dust sheets down, the room handed back clean, and clear instructions on curing time. Photo quoting keeps it simple — most bath reseals are priced without a visit at all.
Commercially, resealing is often a remedial package on a live site or an occupied building, so it needs phasing, RAMS on request, inductions, protection of adjacent finishes, and a walk-round with the site manager at the end. Volume changes the logistics but not the method: full removal, proper preparation, correct product, consistent tooling.
Questions
What customers ask
before booking
- How much does a reseal cost?
- Every job is quoted individually and quotes are free. Price depends on joint length, how difficult the old sealant is to remove and access. Send photographs of a small job — a bath or kitchen reseal — and we can usually price it without visiting.
- Can't you just seal over the top to save money?
- No. Silicone does not bond to silicone, so an overlaid bead is attached to a failing layer and will lift. Full removal is included in every reseal we quote.
- How long does a reseal take?
- A bathroom is usually a few hours; a bathroom and kitchen together is generally a day. Commercial remedial packages are planned across visits and quoted with a duration.
- When can I use the shower or bath again?
- Keep the joint completely dry for the period stated for the product used — as a rule of thumb, overnight and ideally a full 24 hours. Wetting a curing joint prevents full adhesion and is the most common cause of an early failure.
- Why did my last reseal fail so quickly?
- Nearly always one of four things: it was applied over old sealant, applied into a damp joint, applied over an untreated mould colony, or the wrong product was used for the room. Part of our job is identifying which, so the replacement lasts.
- Will removing the old sealant damage my bath or tiles?
- Not when it is done properly. Removal is mechanical and careful, with blade choice and angle matched to the surface — acrylic baths, polished stone, coated frames and laminate worktops all need a different approach.
- What if there is damage behind the old sealant?
- We will show you and tell you plainly. Sometimes it is superficial and we can seal over sound substrate; sometimes a floor deck or board needs attention first, in which case sealing straight away would just hide the problem again.
- How long should the new sealant last?
- In a properly prepared joint with the right product, years of service — longer internally than externally, and shorter in heavily used commercial wet areas. We do not offer a workmanship guarantee, so we are honest about the factors that shorten life: ventilation, abrasive cleaners and standing water.
- Do you replace sealant that has been rejected on a commercial site?
- Yes, regularly. We cut out the failed work, correct joint geometry and backing, reseal to specification and walk the run with your site manager for sign-off. RAMS on request, CITB and CSCS accredited, £2m public liability cover.
- Which areas do you cover?
- Kent, London and the South East from our base at The Historic Dockyard in Chatham — including Maidstone, Sevenoaks, Tunbridge Wells, Kings Hill, Meopham, Whitstable, Tenterden, Bexley and the City of London.
Related sealant services
- Bathroom, wet room & kitchen sealing
Clean, watertight beads around baths, showers, trays and worktops — for homes in Chatham and for commercial washrooms alike.
- Anti-mould sealant
Mould-resistant products for bathrooms, wet rooms and washrooms that stay cleaner for longer.
- Window & door silicone sealing
Perimeter sealing that keeps draughts and driving rain out of the building envelope, internally and externally.
- Colour-matched silicone sealant
Beads matched to grout, frames, stone or cladding so the joint disappears into the finish instead of framing it.
- All sealant services
Where we work
Based at The Historic Dockyard in Chatham, covering Kent, London and the South East — including Sevenoaks, Tunbridge Wells, Maidstone, Kings Hill, Tenterden, Whitstable and City of London.
Have it removed properly once, instead of resealed every year
Send us a photo of the failed sealant. You will get a free fixed price, an honest read on why it failed, and a reseal that addresses the cause rather than covering it.
£2m public liability cover · CITB & CSCS accredited · RAMS on request · Mon–Sat, 7am–7pm · Sunday closed