
Wet area sealing — domestic & commercial
Bathroom, Wet Room &Kitchen Sealing in Chathamwatertight and mould-resistant
One visit, usually one day, and the bead around your bath, shower or worktop is straight, white and sealed properly — cut out to the substrate, prepared dry, and reapplied in a mould-resistant silicone so it stops looking tired in six months.
Free quotes, and small jobs like a bath reseal can be priced straight from your photos — no waiting in for a visit.
£2m cover
public liability insurance
CITB & CSCS
accredited on site
RAMS on request
for commercial jobs
Free quotes
photo quotes on small jobs
Chatham based
Kent, London & South East
The service
What this work involves
— and who it is for
What wet area sealing involves
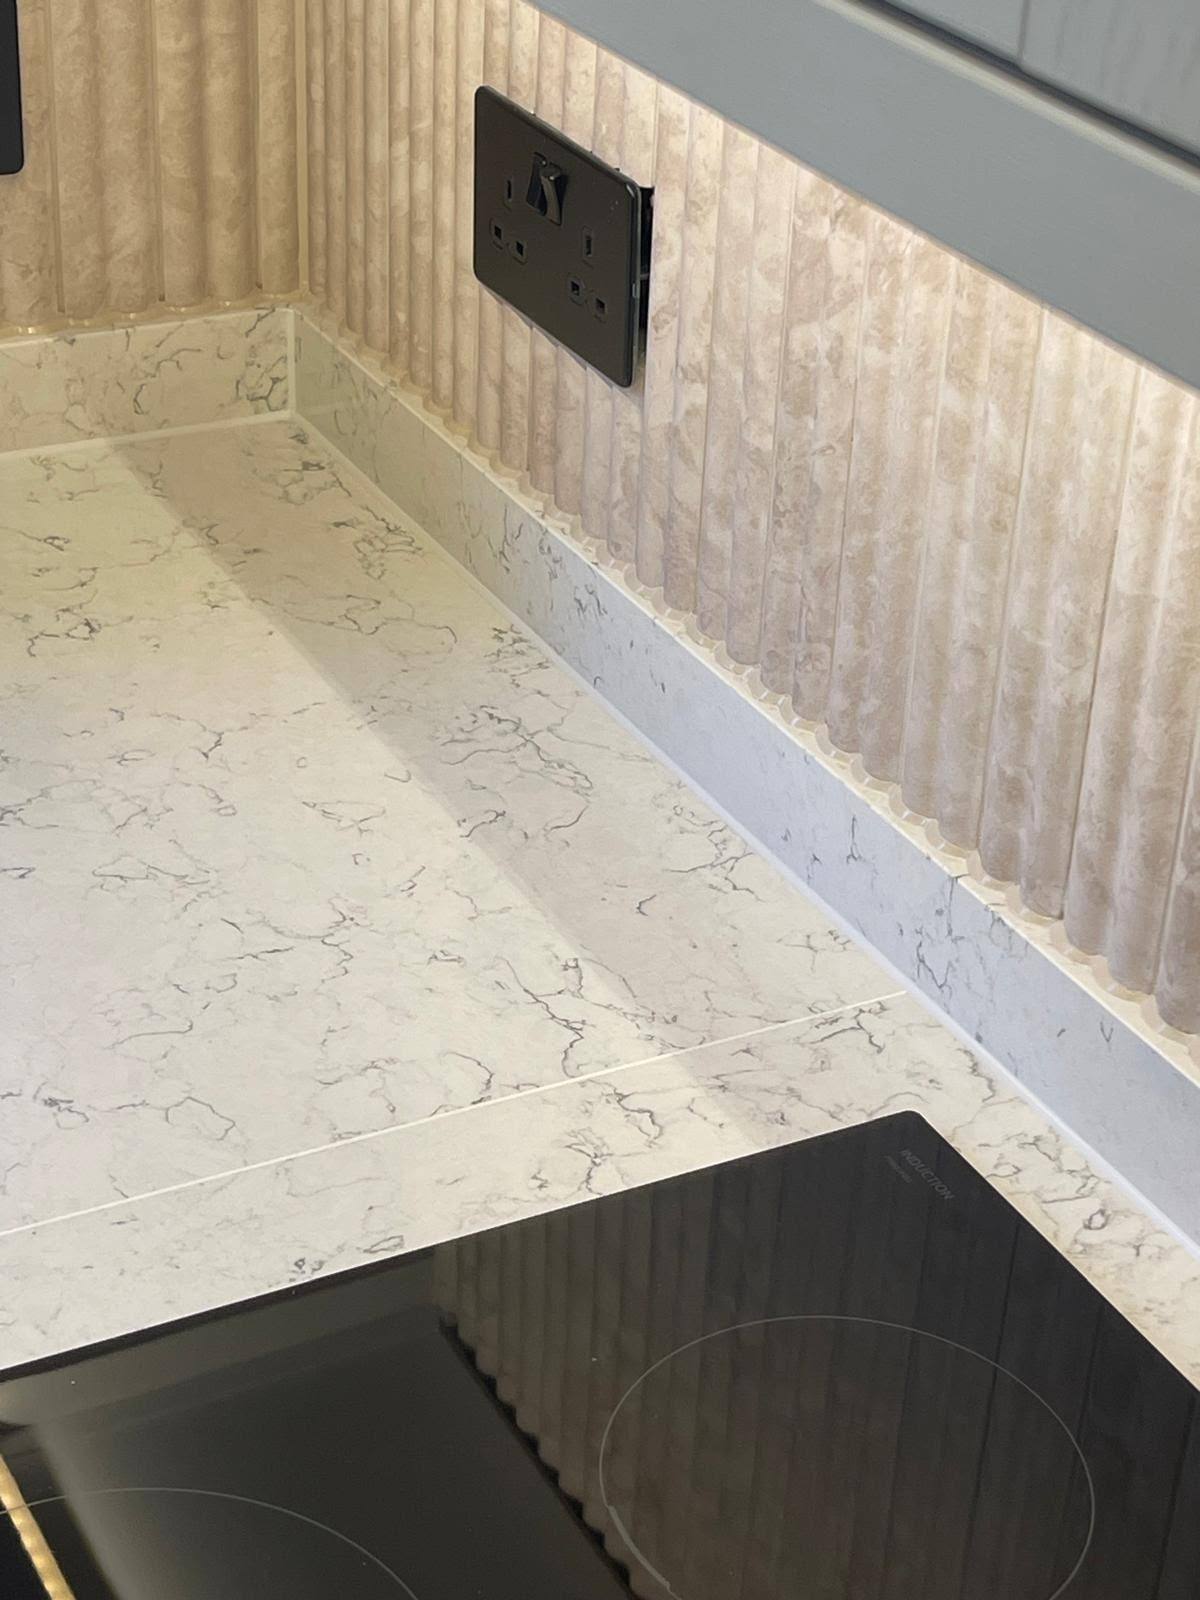
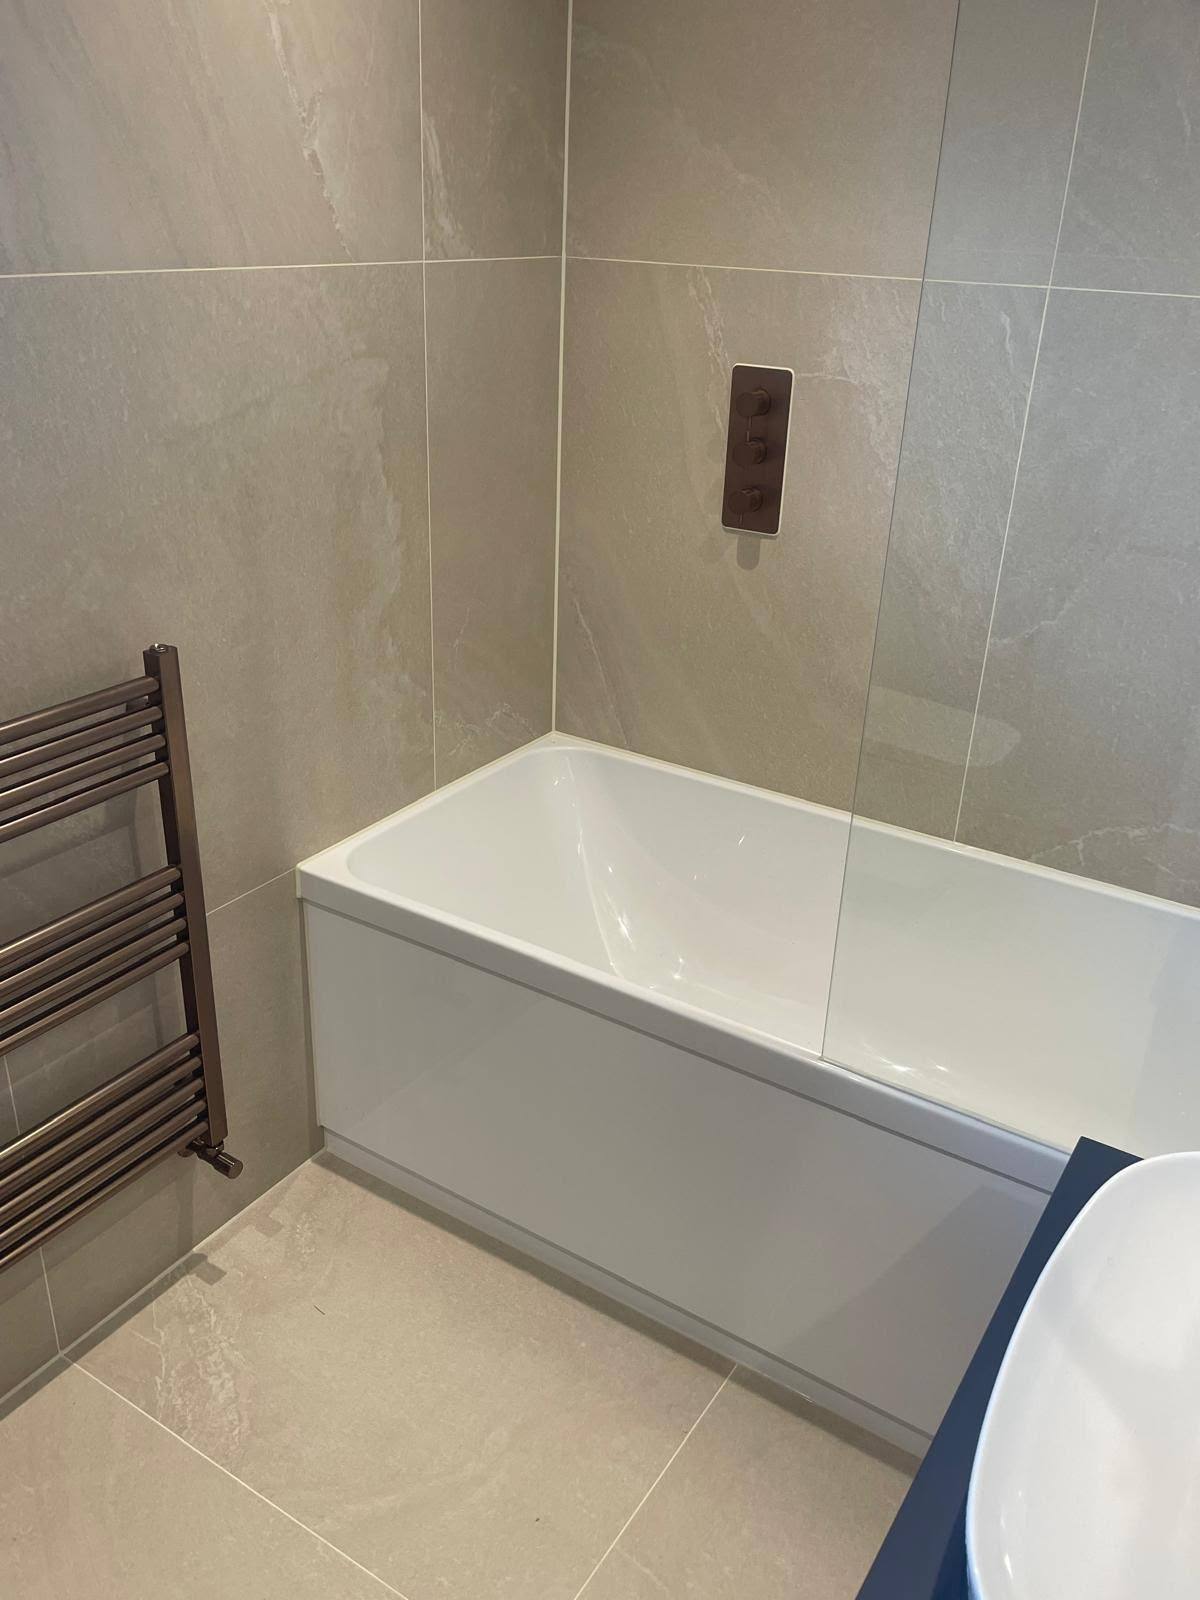
Every wet area in a building relies on a handful of flexible joints: bath to tile, shower tray to wall, wet-room former to floor finish, worktop to splashback, sink and hob to worktop, and the internal corners of tiled walls. Those joints move — baths flex when filled, trays settle, worktops expand — which is why they are sealed with silicone rather than grouted solid.
Our work is the whole joint, not a bead over the top of the old one. Existing sealant is cut out completely, residue and mould are removed, the substrate is cleaned and dried, and a fresh bead is gunned in one pass and tooled to a clean concave line. Where the room stays damp or poorly ventilated, we use a mould-resistant product so the joint stays white rather than greying at the edges within a season.
Who it is for
Homeowners in Chatham and across Kent whose bathroom looks tired because of one black line, or who have just had a bathroom or kitchen fitted and want the sealing done to a standard the rest of the installation deserves.
Equally, commercial clients: washroom and shower-room refurbishments, staff and student facilities, changing rooms and commercial kitchens. Bathrooms and kitchens are not automatically domestic jobs, and we price and deliver commercial wet-area packages to the same finish with RAMS available on request.
When it is needed
As soon as sealant goes black, splits, lifts at an edge or feels soft and rubbery when pressed. Any of those means water is either sitting in the joint or getting behind it. The same applies if the bead has shrunk away from the tile, if you can see a shadow line of dirt along it, or if you have peeled a section back and found damp board underneath.
It is also the last step on any new bathroom, wet room or kitchen installation, and the first thing to redo after a tray, bath or worktop is replaced — the old joint line will never sit correctly against a new component.
Why professional sealing matters
A silicone joint is one of the few details in a house that is simultaneously waterproofing and decoration. It has to be sized so the bead can flex when the bath fills, bonded to two clean faces, and tooled to a profile that sheds water instead of holding it. Cartridge silicone from a DIY shop applied over an unprepared, still-damp joint usually fails within a year — and the failure is invisible until a ceiling below it stains.
The other half is finish. A wobbling, over-wide, finger-smeared bead is the detail people notice every time they use the room. Straight lines take out-of-square walls into account, keep a consistent width, and finish cleanly into corners and against sanitaryware.
What it costs to leave it
A failed seal never
stays a small problem
Failed bathroom sealant is the cheapest thing in a building to fix and one of the most expensive things to ignore. Water passing a bath or shower joint does not evaporate — it soaks into chipboard, plaster and joists, and it keeps doing it every single time the room is used.
Rot under the tray and floor
Water tracking past a shower or bath joint wets the floor deck first. Chipboard swells and crumbles, joists stay damp, and the repair becomes a lifted floor, a removed tray and a rebuilt wet area rather than a tube of sealant.
Ceiling and wall damage below
A slow leak from a first-floor bathroom shows up as a stain, then a bulge, then a fallen section of ceiling below — plus decoration, and sometimes electrics in the affected zone.
Black mould that keeps coming back
Mould in a joint is not just surface dirt; it colonises the sealant itself. Cleaning it removes the colour for a fortnight. Once the product is contaminated, the only fix is cut out, treat and reseal in a mould-resistant silicone.
Mistakes we get called out to fix
- Running new sealant over the top of old sealant — the new bead bonds to a failing layer and lifts within weeks.
- Sealing while the joint is still damp, or straight after a shower, so the silicone never gets full adhesion.
- Using a general-purpose or bathroom 'value' silicone in an unventilated wet room instead of a mould-resistant product.
- Grouting a bath or tray joint solid, so it cracks the moment the bath is filled and the joint moves.
- Filling an over-wide gap in one huge bead instead of packing the joint properly, leaving a thick line that sags and traps water.
How a job runs
The order of work,
start to finish

- 01
Photos or a quick look
Send a couple of photos of the joint and the room. Small jobs such as a bath reseal can be quoted from those without a visit; larger or commercial work gets a site visit.
- 02
Free written quote
You get a fixed price for the work described, including whether the sealant is being replaced or applied new, and which product we will use.
- 03
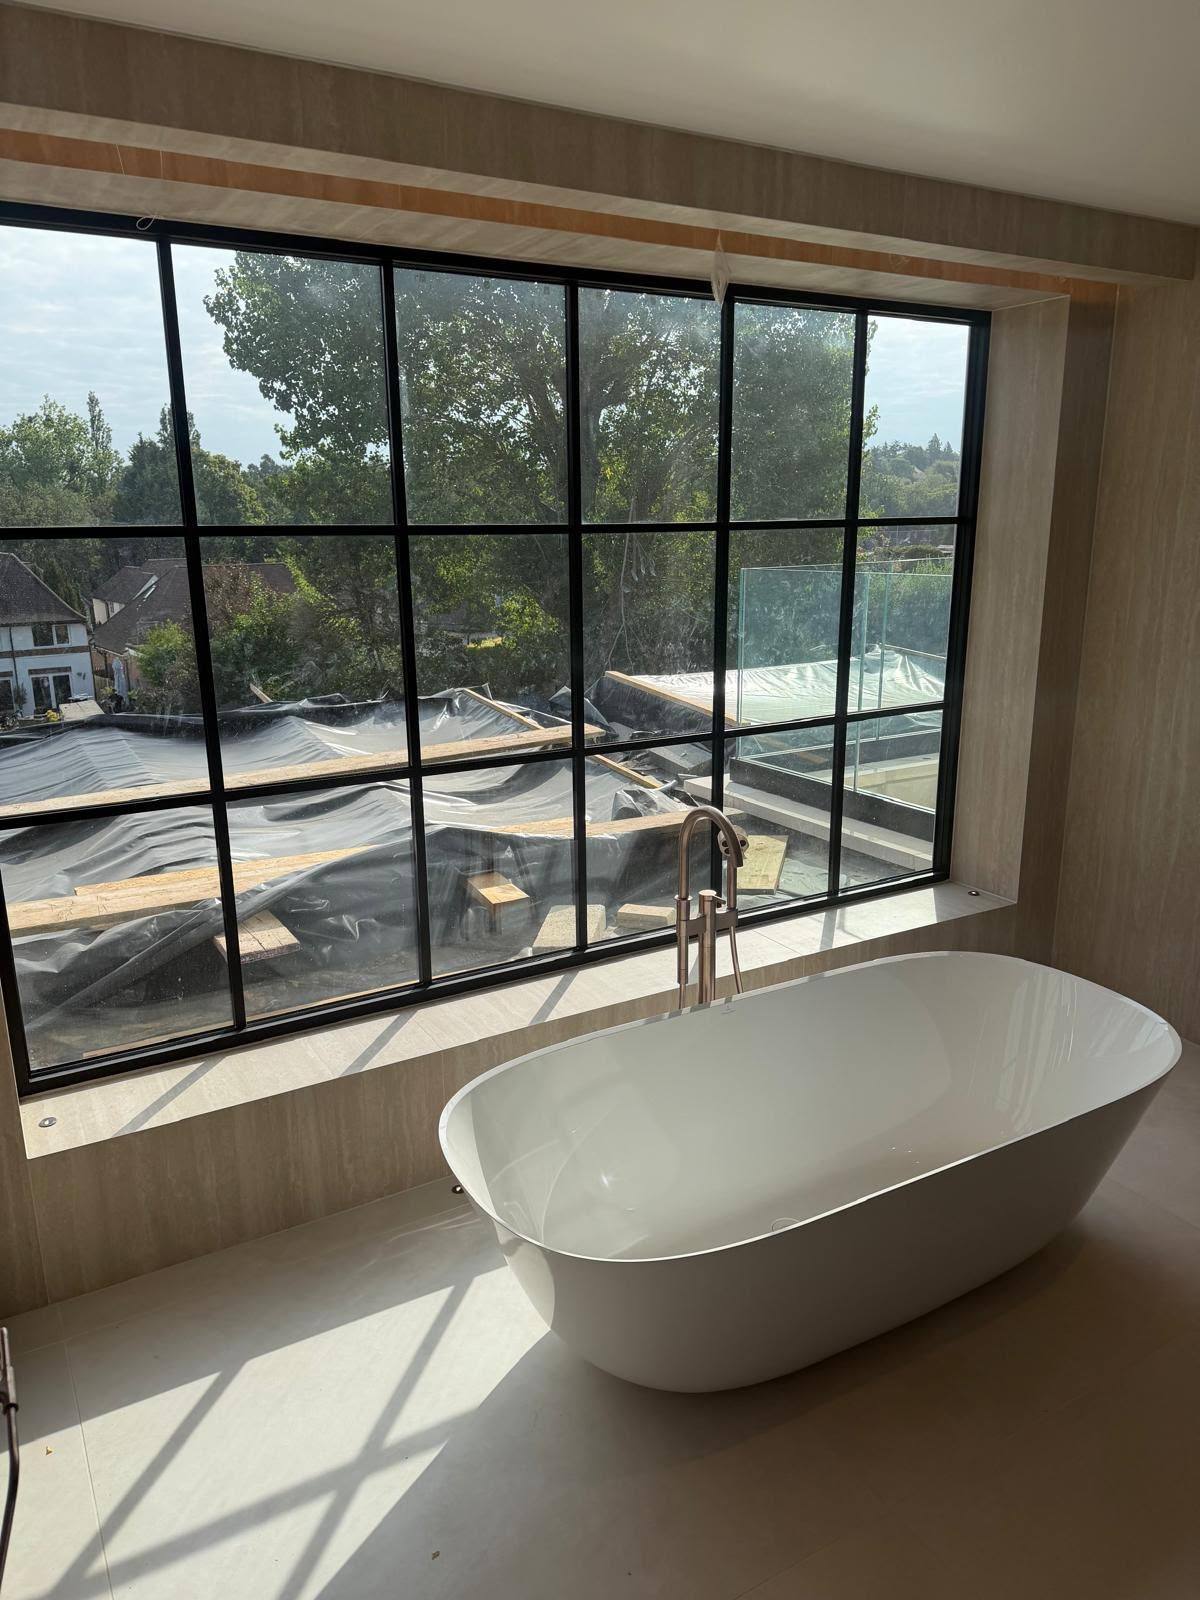
Full removal & preparation
Old sealant is cut out to the substrate, residue scraped back, mould treated, and the joint cleaned and dried before anything new touches it.
- 04
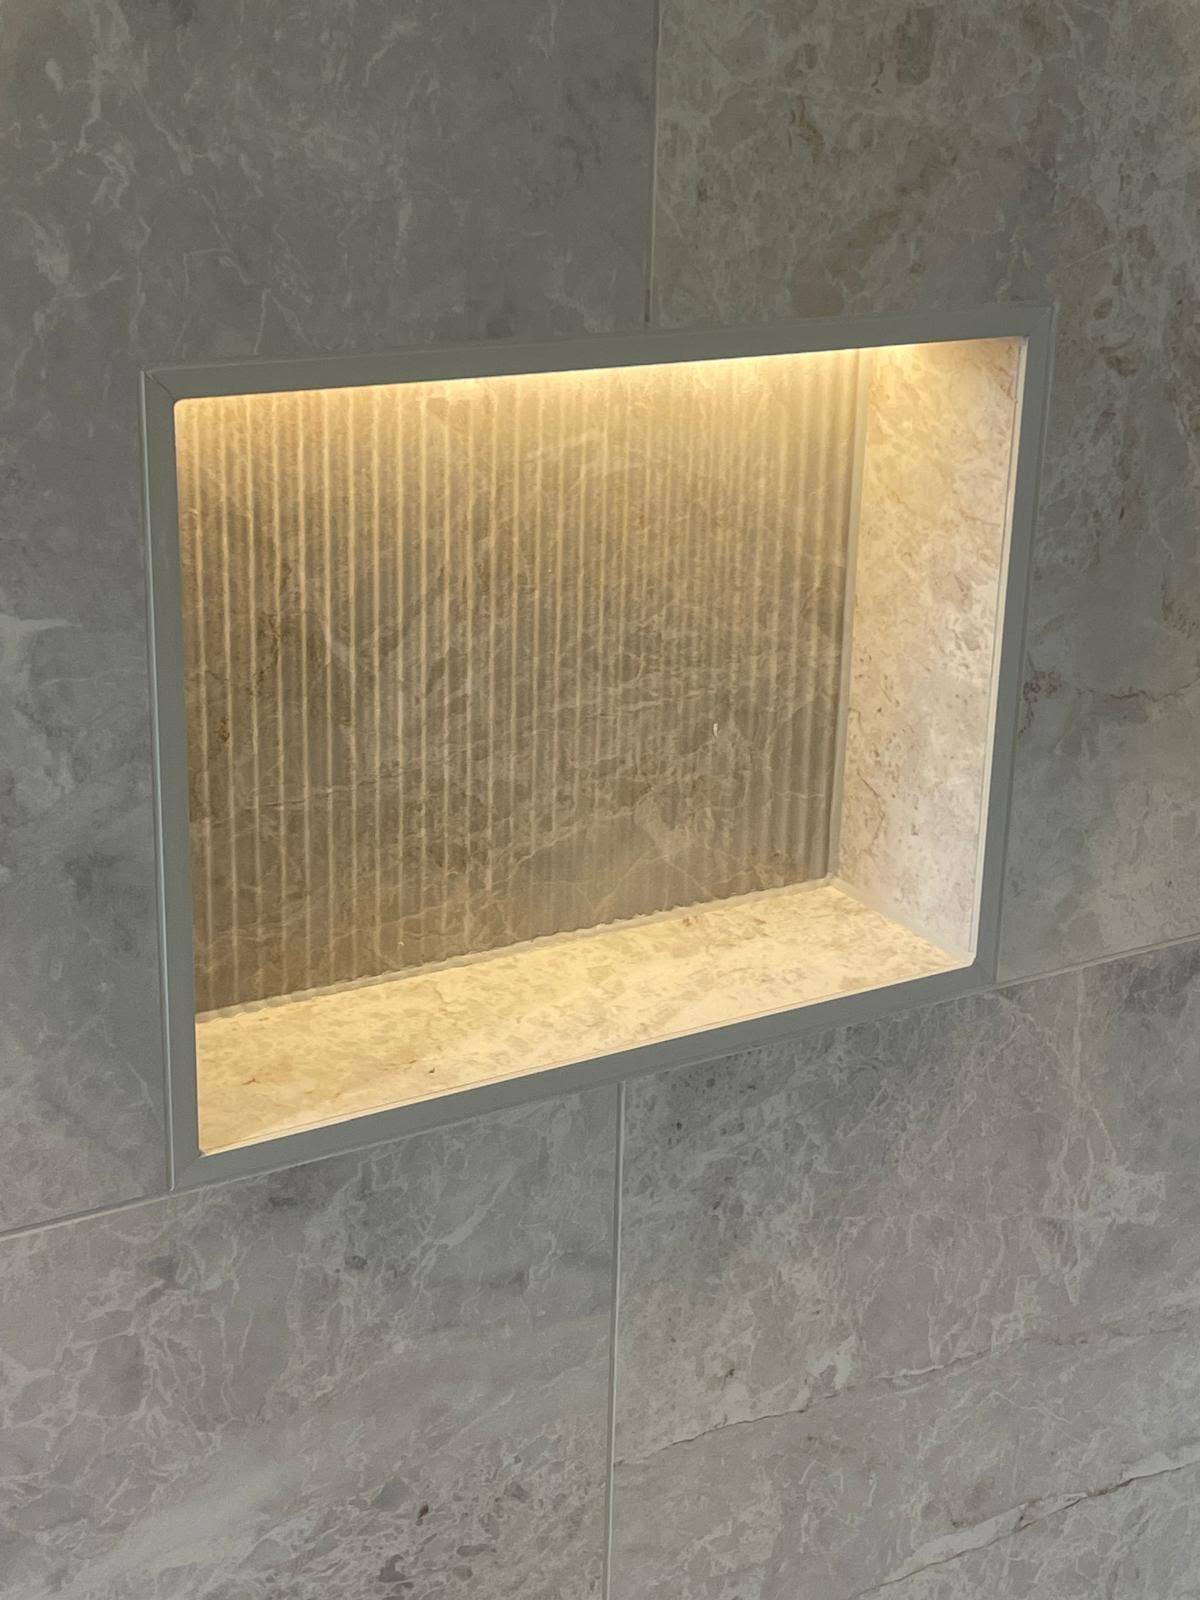
Sealing & tooling
Fresh mould-resistant silicone gunned in a continuous pass and tooled immediately to a straight, consistent concave bead.
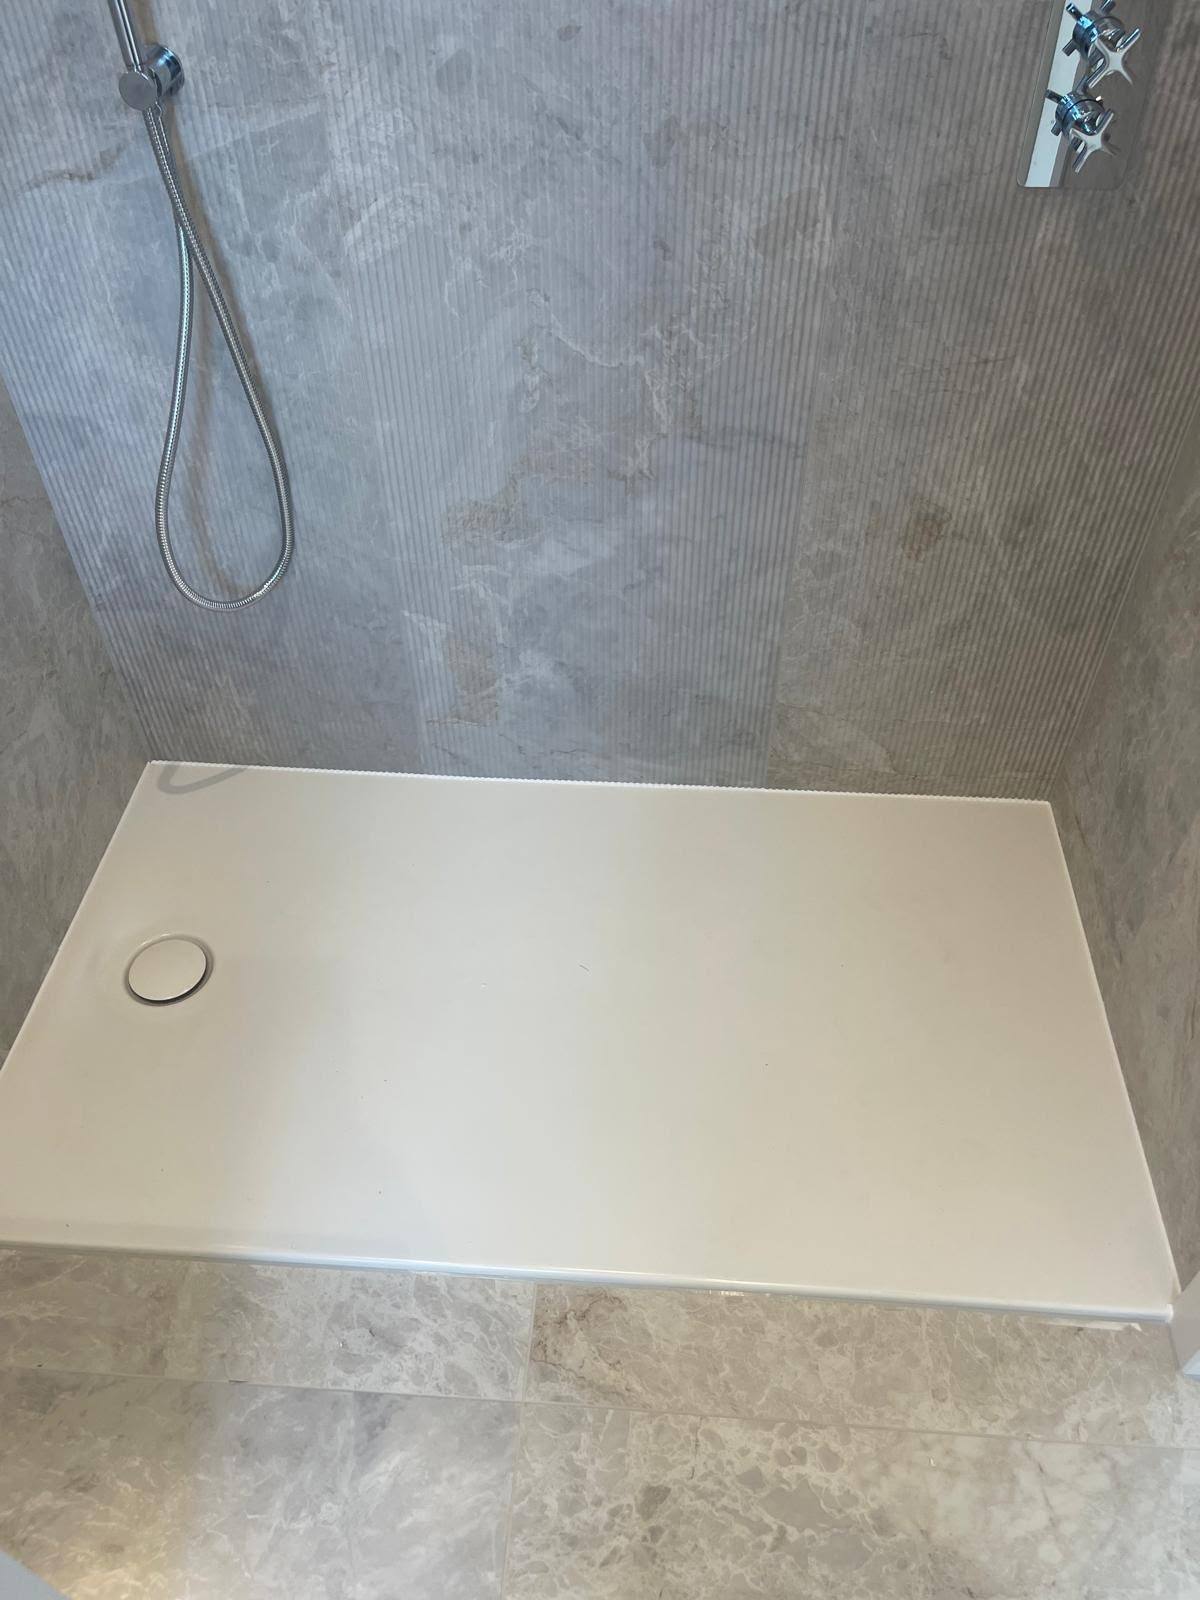
- 05
Curing check & clean up
We tell you exactly how long to leave the room dry, remove all masking and debris, and leave the bathroom or kitchen clean and usable.
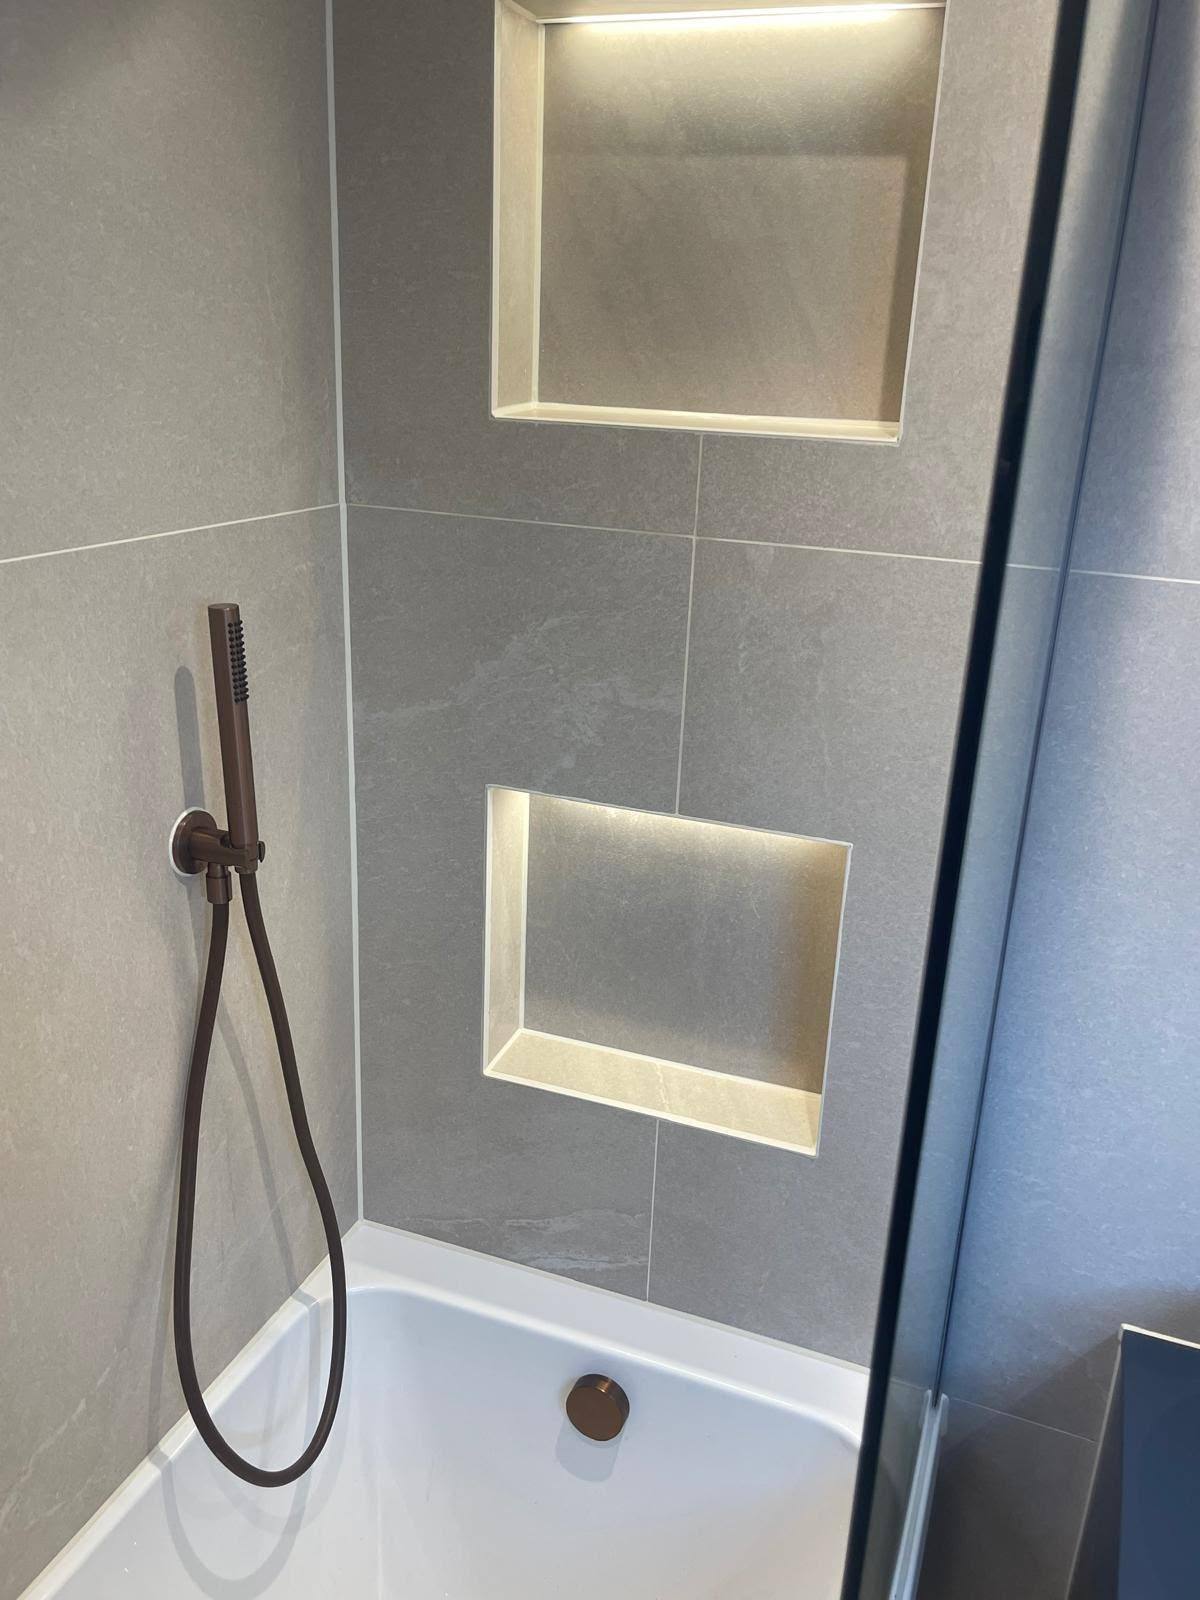
What you get
The difference a properly
detailed finish makes
Usually done in one visit
Most domestic bathroom or kitchen reseals are a single-day job, so the room is out of use for hours rather than days.
Watertight where it matters
Joints prepared dry and sized properly stop water getting to floor decks, joists and the ceiling below — the damage that actually costs money.
Stays white for years, not months
Mould-resistant products in a properly cleaned joint resist the black spotting that makes a good bathroom look neglected.
A finish that reads deliberate
Consistent bead width, straight runs and clean corners, cut in properly around taps, trays and worktop returns.
Cheaper than the alternative
A reseal is a modest fixed price. A rebuilt wet area with new floor deck, tray and ceiling below is a different order of cost entirely.
No surprises on price
Free quotes, no 'from' pricing games, and photo quoting on small jobs so you know the figure before anyone comes out.
In detail
Materials, methods
and the variations we cover
Products we use in wet areas
Wet-area joints get sanitary-grade silicone with fungicide, drawn from established trade brands — Mapei, Illbruck, CT1 and Arbo. These are not the same as general-purpose cartridges: they cure to a harder, less porous surface, hold fungicide in the film for years and resist the constant wet-dry cycling of a shower enclosure.
Where ventilation is poor — an internal bathroom with only an extractor, a busy family shower, a commercial changing room — we specify a dedicated mould-resistant product and, where appropriate, treat the substrate before sealing so we are not sealing a live mould colony into the joint. Around pools and leisure wet zones the product changes again to a chlorine-resistant sealant, because chlorinated water and vapour degrade standard silicone.
Method: why the cut-out matters most
Ninety per cent of the value in a reseal is in what happens before the new cartridge is opened. Old silicone is cut from both faces with blades rather than pulled, so no skin of old product is left behind for the new bead to bond to. Residue is scraped and solvent-wiped, mould treated, and the joint left to dry — sealing into a damp joint is the single most reliable way to guarantee a failure.
Bead geometry then does the rest. A bath or tray joint needs to flex as the unit loads and unloads, so the sealant is applied to a controlled depth and tooled concave, bonded to the two joint faces and not bridged in a thick, weakly adhered lump. Where a gap is genuinely too wide for one bead — common with out-of-level trays or old baths against modern tiling — the joint is packed and built up in stages rather than filled in a single sagging pass.
Variations of wet-area sealing we cover
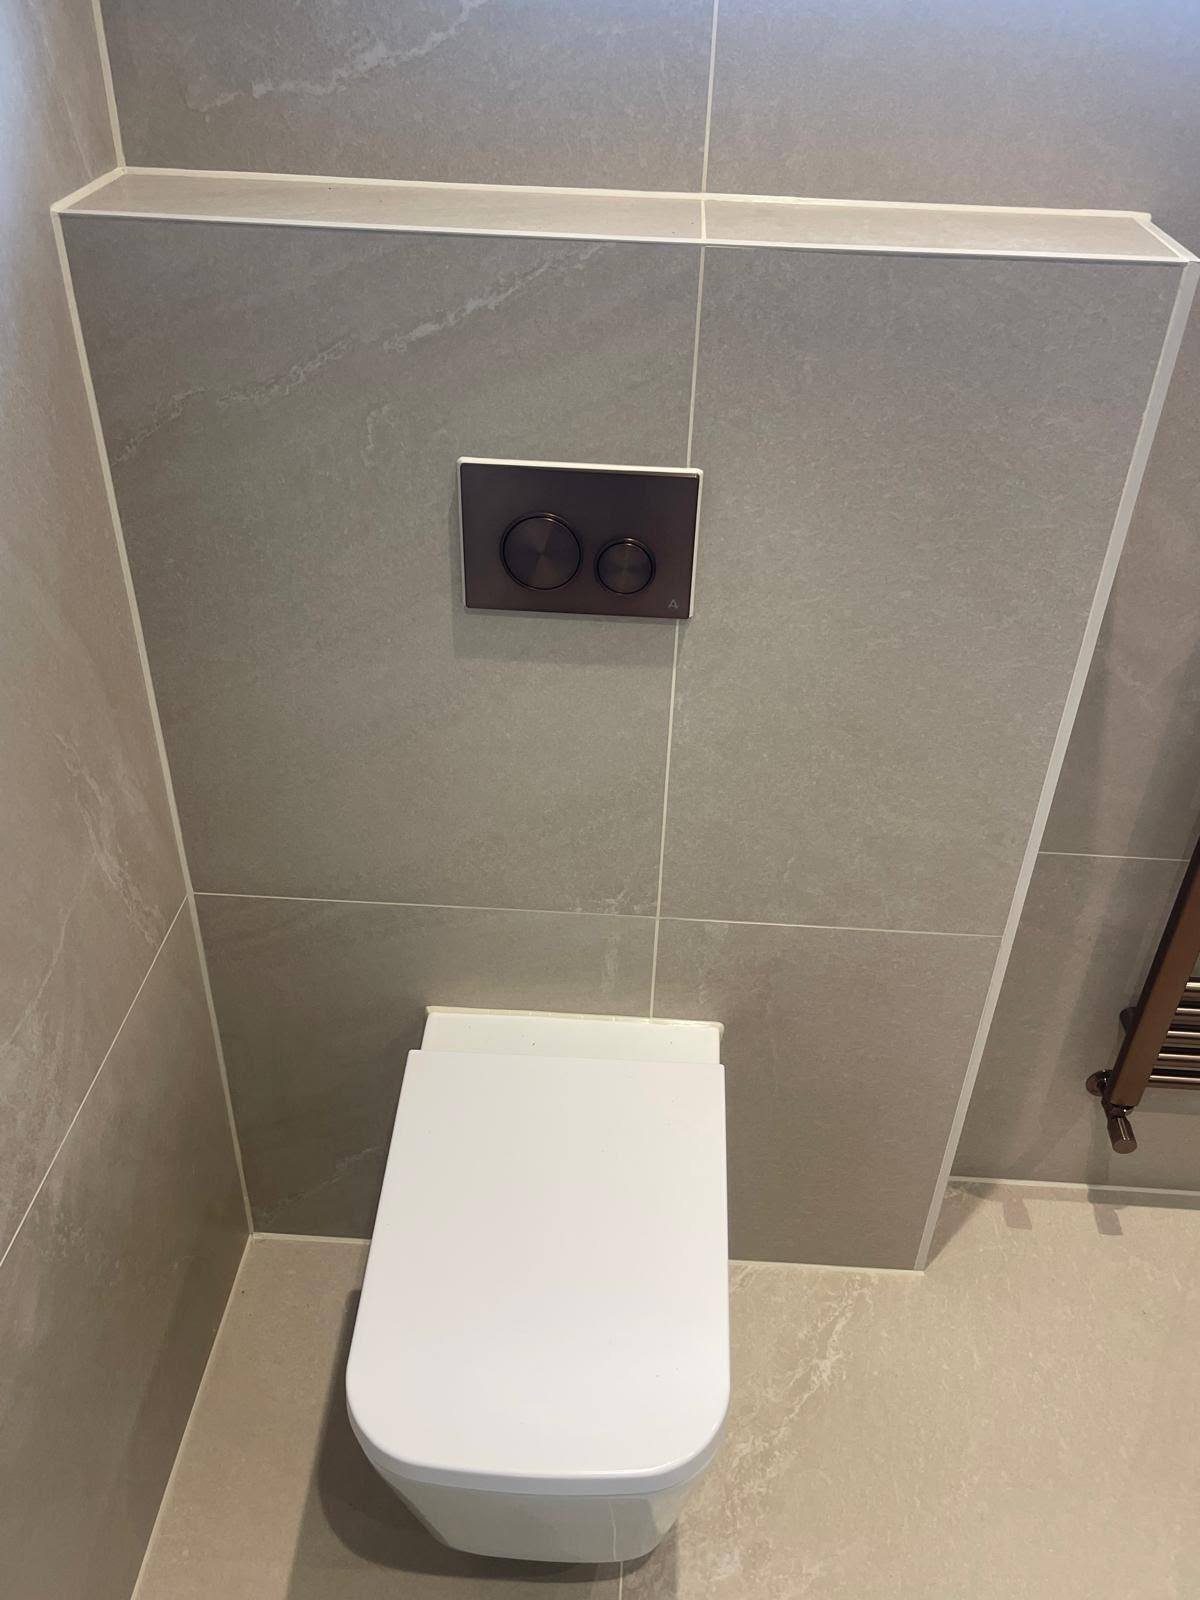
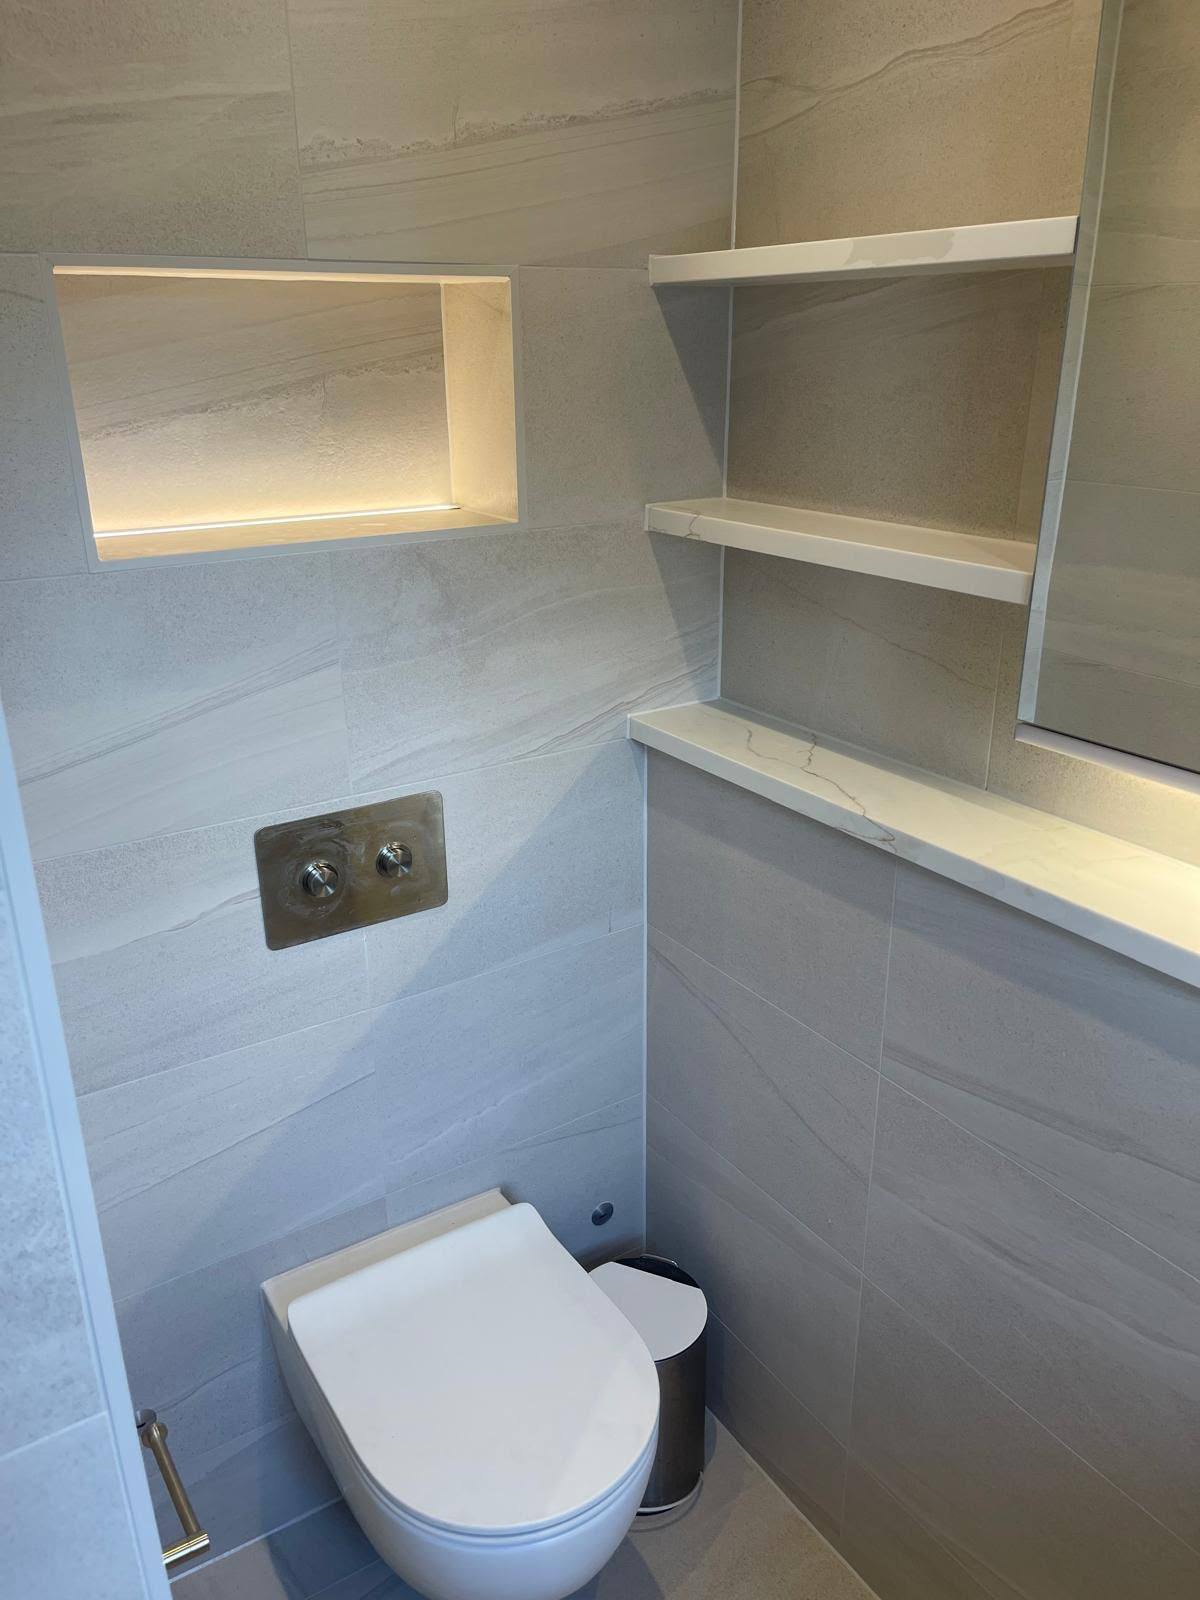
Bath to tile and bath to wall panel. Shower trays, low-profile trays and wet-room formers to floor finish. Tiled internal corners and change-of-plane joints. Shower screens, enclosures and glass panels. Basins, pedestals, WC pans and cisterns to wall and floor. Kitchen worktops to splashback and to wall, sink and drainer runs, hobs, upstands, island returns and end panels. Utility rooms, boot rooms and laundry areas. Commercial washrooms, shower blocks, changing facilities and stainless-steel commercial kitchen installations.
We also take on remedial work where a joint was sealed recently and has already gone wrong — either because it was applied over old sealant, applied damp, or the wrong product was used for the room.
Domestic and commercial differences
In a house the priorities are speed, cleanliness and finish: get in, get the room back in use the same day, leave no mess, and give the client a line they are happy to look at every morning. Curing time is explained plainly — keep the joint dry for the period stated on the product, which usually means no shower that evening.
In a commercial washroom or changing room the same joints see many times the use, harsher cleaning chemicals and far worse ventilation. That pushes us towards mould-resistant products as standard, tighter tooling around vandal-resistant fittings and IPS panels, and phasing so parts of the facility stay open. RAMS are issued on request, and we work around cleaning and access schedules rather than through them.
Questions
What customers ask
before booking
- How much does a bathroom reseal cost?
- Every job is quoted individually and quotes are free — we do not publish 'from' prices because joint length, access and how bad the removal is all change the figure. Send photos of the bath, shower and worktop joints and we can usually price a small reseal without visiting.
- How long does it take?
- A typical domestic bathroom reseal is a few hours; a full bathroom, wet room and kitchen in the same visit is usually a day. Commercial washroom packages are planned across visits so parts of the facility stay open.
- How soon can I use the shower afterwards?
- We give you the exact figure for the product used on the day. As a general rule, keep the joint completely dry overnight — around 24 hours — before running a shower or filling a bath, because a joint wetted while curing will not achieve full adhesion.
- Can you just seal over the old silicone to save time?
- No, and we would not quote for it. New silicone will not bond reliably to old, and a bead applied over a failing joint lifts within weeks. Full removal is part of every reseal we do.
- Why does my sealant keep going black?
- Because mould has colonised the sealant itself, not just the surface, and usually because the room is under-ventilated or the joint was sealed damp. Cutting it out, treating the substrate and resealing in a mould-resistant product is the only lasting fix — cleaning only removes the colour temporarily.
- How long should new bathroom sealant last?
- In a properly prepared joint with a mould-resistant product, expect many years of service in a domestic bathroom, and a shorter cycle in a heavily used commercial shower block. We do not offer a workmanship guarantee, so instead we are straightforward about what shortens the life: poor ventilation, abrasive cleaners and standing water.
- Do you seal kitchen worktops as well as bathrooms?
- Yes — worktop to splashback, sink and hob cut-outs, upstands, island returns and end panels, in laminate, solid surface, quartz and stone. Colour-matched sealant is available so the bead disappears into the worktop rather than framing it.
- Do you cover commercial washrooms and changing rooms?
- Yes. Washroom and shower-block refurbishments, staff and student facilities, changing rooms, leisure wet areas and commercial kitchens are a regular part of our work, with £2m public liability cover, CITB and CSCS accreditation and RAMS on request.
- Do you cover my area?
- We are based at The Historic Dockyard in Chatham and work across Kent, London and the South East — including Maidstone, Sevenoaks, Tunbridge Wells, Kings Hill, Meopham, Whitstable, Tenterden, Bexley and the City of London.
- How do I pay?
- Smaller jobs are settled by bank transfer once the work is done. Larger jobs are invoiced.
Related sealant services
- Anti-mould sealant
Mould-resistant products for bathrooms, wet rooms and washrooms that stay cleaner for longer.
- Sealant replacement — removal & reseal
Old, split or blackened sealant cut out completely, substrate prepped and treated, then resealed properly.
- Colour-matched silicone sealant
Beads matched to grout, frames, stone or cladding so the joint disappears into the finish instead of framing it.
- Swimming pool & leisure sealant
Chlorine-resistant products for pool surrounds, changing areas and wet leisure environments.
- All sealant services
Where we work
Based at The Historic Dockyard in Chatham, covering Kent, London and the South East — including Sevenoaks, Tunbridge Wells, Maidstone, Kings Hill, Tenterden, Whitstable and City of London.
Send us a photo and get a price back
Most bathroom, wet room and kitchen reseals can be quoted straight from photographs — no site visit, no waiting in. Free quote, fixed price, and usually done in a single visit.
£2m public liability cover · CITB & CSCS accredited · RAMS on request · Mon–Sat, 7am–7pm · Sunday closed